Getting started
Kaa Sandbox is a preconfigured virtual environment designed for the users who want to use their private instance of Kaa platform for educational, development, and proof-of-concept purposes. The Sandbox also includes a selection of demo applications that illustrate various aspects of the platform functionality.
This page provides guidance on how to set up the Sandbox and run your first Kaa application that will work with the Kaa platform. The setup instructions are also available as a video tutorial below.
Sandbox installation
To run your Kaa Sandbox, you can use the VirtualBox environment or AWS Elastic Compute Cloud (EC2). Click the appropriate tab and follow the instructions.
To run the Kaa Sandbox, your system must meet the following minimum requirements:
- 64-bit OS
- 4 GB RAM
- Virtualization enabled in BIOS
To install Kaa Sandbox:
-
Install a virtualization environment. The current version of Kaa Sandbox supports Oracle VirtualBox version 5.1.2 and higher which is available as a free download.
-
Download the Sandbox .ova image from the Kaa download page.
-
Import the Sandbox image using this guide.
-
After you loaded the image, open the Oracle VM VirtualBox Manager, click Settings > System and adjust the amount of RAM and processors available to the VM. For optimal performance, we recommend at least 4 GB of RAM and at least 2 CPUs. Apply your settings and start the virtual machine.
NOTE: Your instance of Kaa Sandbox works out of the box with the default VM networking configuration set to NAT. This enables connection between your machine and Kaa server. However, you may want to switch to the Bridged Adapter mode. To do that, open the Oracle VM VirtualBox Manager, click Settings > Network and change the Attached to option to Bridged Adapter. The advantage of using this mode is that your Kaa Sandbox will work correctly even if you change your local machine IP.
-
Wait until the VirtualBox starts up and open 127.0.0.1:9080/sandbox URL in your browser.
-
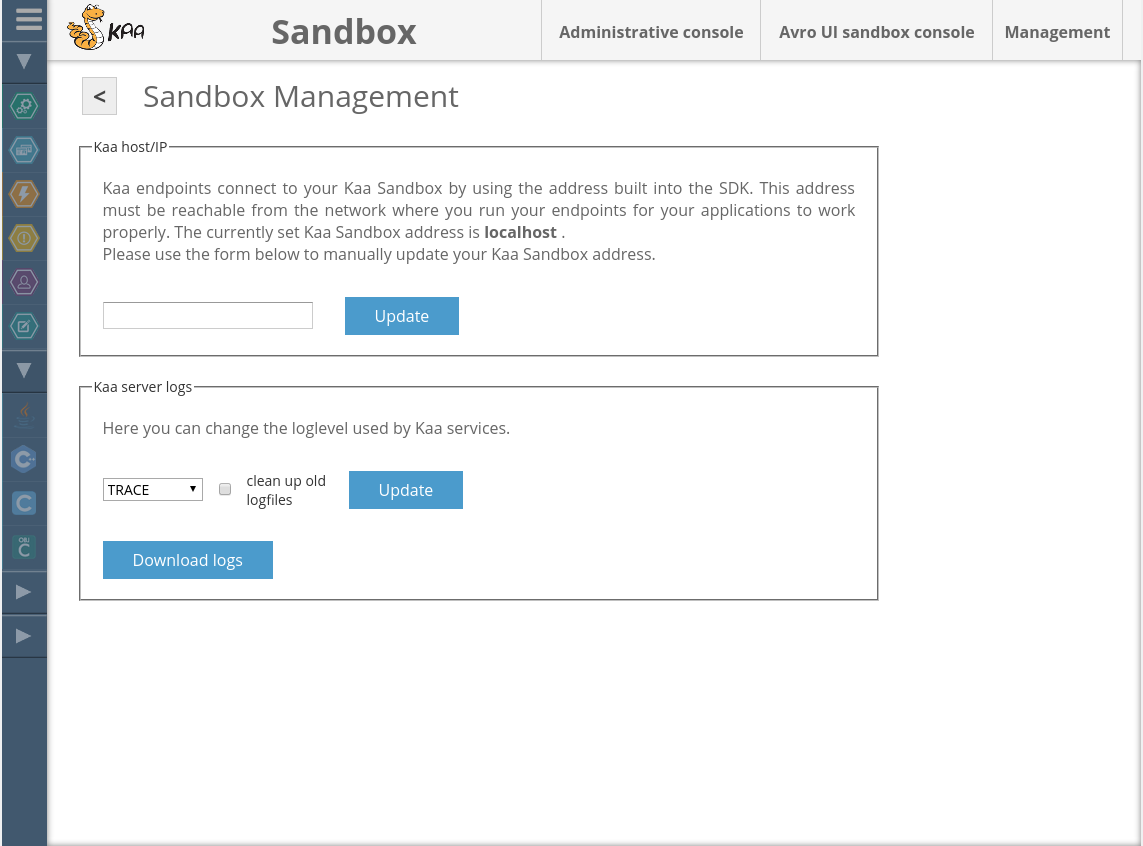
Open the Sandbox Management page and specify the real IP of your machine in the Kaahost/IP block.
IMPORTANT: You may incur charges for running your Kaa Sandbox on AWS EC2. Before proceeding with the deployment, make sure you have reviewed and understood the current EC2 charge rates.
To launch the Kaa Sandbox on AWS EC2:
-
Go to Kaa download page, choose your region in the Deploy Sandbox to AWS section and click the section bar. For more information, see geographic regions EC2 offers for launching the Amazon Machine Images (AMIs).
-
At the Choose an Instance Type step, choose the appropriate instance type. For optimal performance, we recommended that you use at least m3.large or more powerful.
-
At the Configure Instance Details step, you can customize the settings or leave the default values.
-
At the Add Storage step, add additional volumes as required. The number of instance storage devices available on the machine depends on the instance type. EBS volumes are not recommended for database storage.
-
At the Tag Instance step, give a name to your instance, for example, kaa-sandbox-0.10.0.
-
At the Configure Security Group step, select one of the following options:
-
Create a new security group with the following ports open for inbound connections:
Protocol Port RangeSource TCP 22 0.0.0.0/0 TCP 8080 0.0.0.0/0 TCP 9999 0.0.0.0/0 TCP 9998 0.0.0.0/0 TCP 9997 0.0.0.0/0 TCP 9889 0.0.0.0/0 TCP 9888 0.0.0.0/0 TCP 9887 0.0.0.0/0 TCP 9080 0.0.0.0/0 -
Select the previously created security group, configured as explained above.
-
-
At the Review Instance Launch step, make any changes as required.
-
Click Launch.
- If you need to create a new key pair, click Create a new key pair and follow the instructions in Creating a key pair Click Select an existing key pair or Create a new key pair dialog, do one of the following:
- If you already have a key pair, click Select an existing key pair and choose an option from the Select a key pair drop list.
-
Click Launch Instances. The Launch Status page will open.
-
Click View Instances.
-
After launching Kaa Sandbox instance, go to public domain name of your instance:9080/sandbox or public IP of your instance:9080/sandbox URL. Public DNS and IP of your instance are available from your instance description.
If your Kaa Sandbox interface does not start due to an error, you can see the error details in the Sandbox log records.
The log records are stored in the var/log/kaa directory.
The log writing system is as follows:
- Kaa Sandbox Frame project writes its logs to the
kaa-sandbox.logfile. - Kaa Avro UI form writes its logs to the
avro-ui-sandbox.logfile. - Kaa node writes its logs to the
kaa-node.logfile. This is the most important log file as it contains the most of the information required for an analysis.
Also, one log file generated per each initialization and each shutdown of a Kaa node and Kaa Sandbox.
Launching your first Kaa application
After you installed a Kaa Sandbox, you can test its features by using the sample applications. By default, your Kaa Sandbox will listen to port 9080 to access the sample applications and some basic configuration data. Using the Sandbox, you can download the source codes of any sample applications. For sample applications based on Java or Android SDK, you can also download the binary files.
To work with your specific Kaa instance, use the Sandbox to download an SDK library and deploy it to your endpoint.
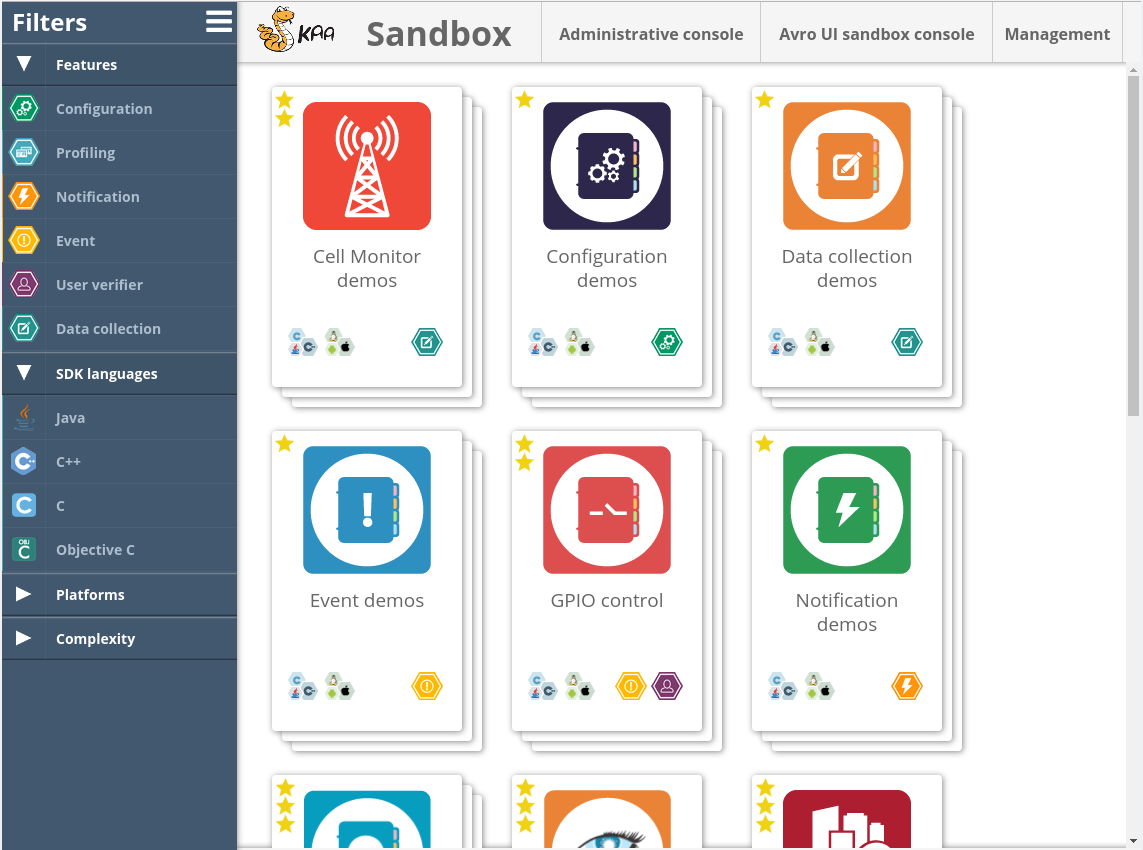
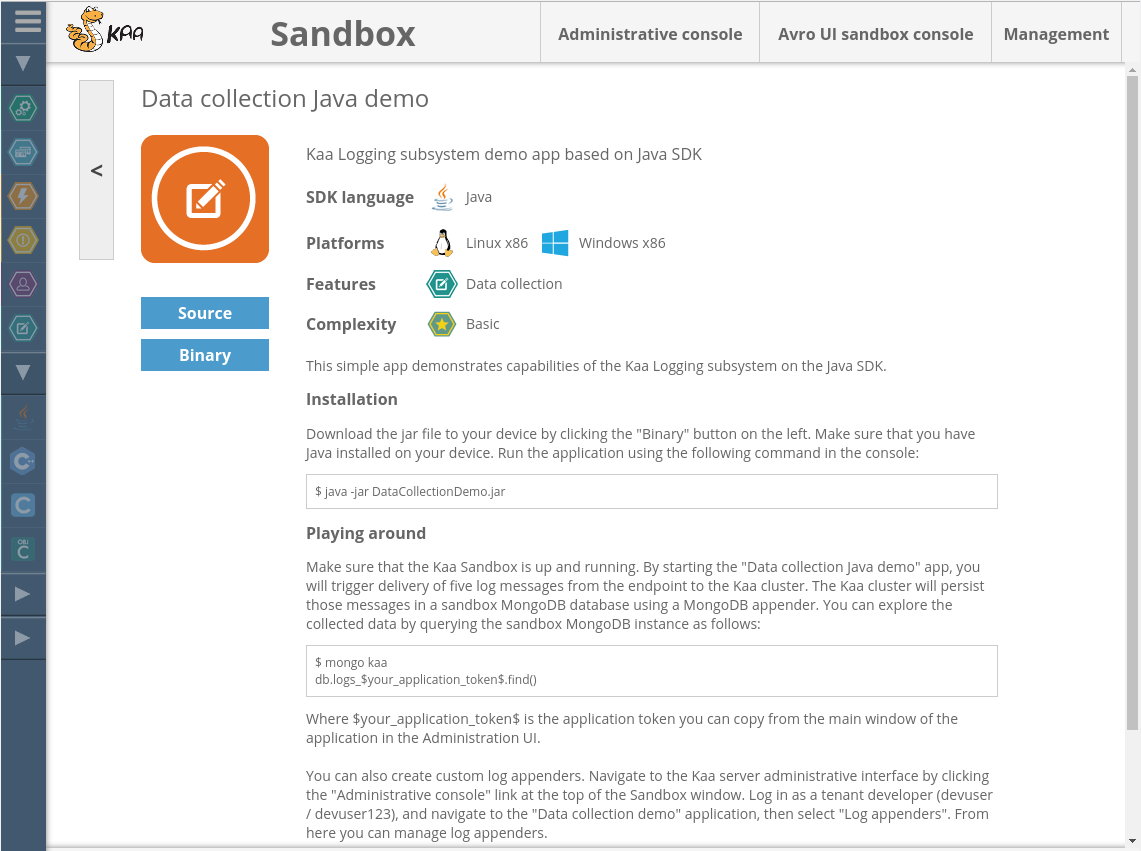
To download and run your first Kaa sample application, we recommend that you open the Data collection demos bundle description from your Sandbox and select your SDK type.
TIP: For quickest possible setup, choose the Java SDK type. For Java SDK, you can download an executable
.jararchive containing binary files. For other SDK types, you need to download and build from the source files.
Follow the instructions in the Sandbox to download, run, and test the sample application.
What’s next?
Use the Sandbox to create your own Kaa applications. To do this, follow the instructions in Your first Kaa application.
NOTE: Please note that Kaa Sandbox is not intended for production or commercial use. To run your applications online, you need to deploy the Kaa platform into your environment. To do this, follow the instructions in System installation.
If you have problems during installation, see Troubleshooting guide.
Administration UI
The Administration UI of the Sandbox is intended for managing Kaa applications, endpoints, schemas, etc. To access the Administration UI, click the Administration button on the Sandbox main page. You can log in using the default pre-configured accounts as listed below:
| Account type | Username | Default password |
|---|---|---|
| Kaa admininstrator | kaa | kaa123 |
| Tenant admininstrator | admin | admin123 |
| Tenant developer | devuser | devuser123 |
Avro UI form
The Avro UI form is an online service that you can use to create schema structure templates. This is helpful when you want to reuse and modify your schemas used within the Kaa platform. To access Avro UI form, click the Avro UI form button on the Sandbox main page.
Advanced Sandbox configuration
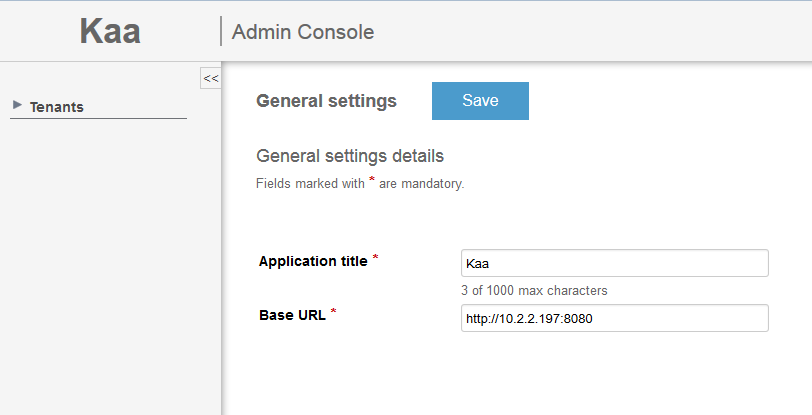
Configuring general settings
The General settings window allows you to configure the application title and application base URL parameters. These parameters are used for sending email notifications to registered users. To customize the general settings, click Settings => General settings and fill in the fields as required.
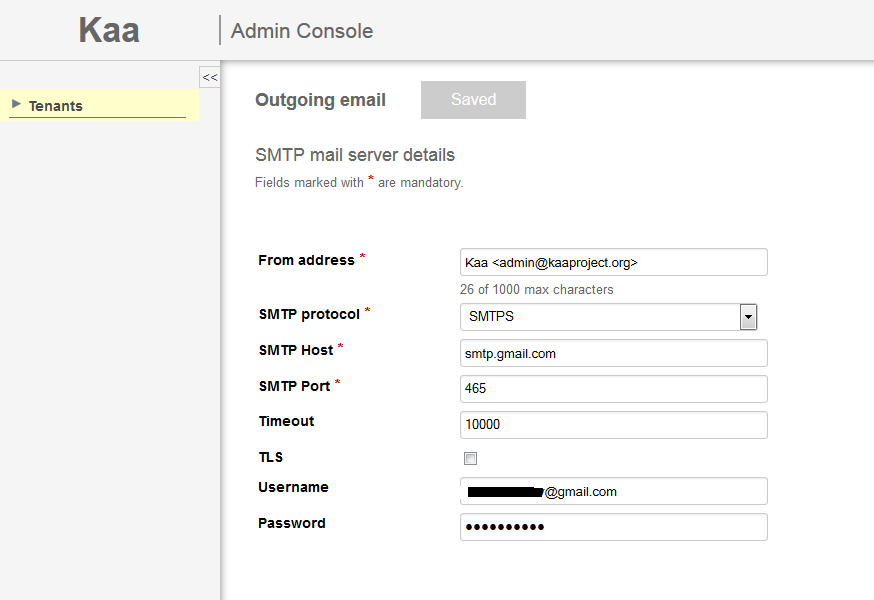
Configuring outgoing mail settings
Outgoing mail settings are used to send emails to newly created users with the information about their passwords, as well as for sending other notifications. To customize the outgoing mail settings, click Settings => Outgoing mail settings and fill in the fields according to your SMTP mail server configuration.
Networking
You can choose a host/IP that your endpoints will use to connect to the Sandbox. The specified host/IP will be used by Kaa endpoint SDK libraries to enable connection from the Kaa clients to your Sandbox. To set up this parameter, you can either use the Sandbox management page or the Sandbox VM terminal. Click the appropriate tab and follow the instructions.
Click the Management button on the Sandbox main page. Input the desired address in the Kaa host/IP section and click Update.
Log in to the Sandbox VM terminal and run the following script.
/usr/lib/kaa-sandbox/bin/change_kaa_host.sh <new host name/ip>
Further reading
Use the following guides and references to learn more about Kaa features.
| Guide | What it is for |
|---|---|
| Key platform features | Learn about Kaa key features, such as endpoint profiles, events, notifications, logging, and others. |
| Installation guide | Install and configure Kaa platform on a single Linux node or in a cluster environment. |
| Contribute to Kaa | Learn how to contribute to Kaa project and which code/documentation style conventions we adhere to. |